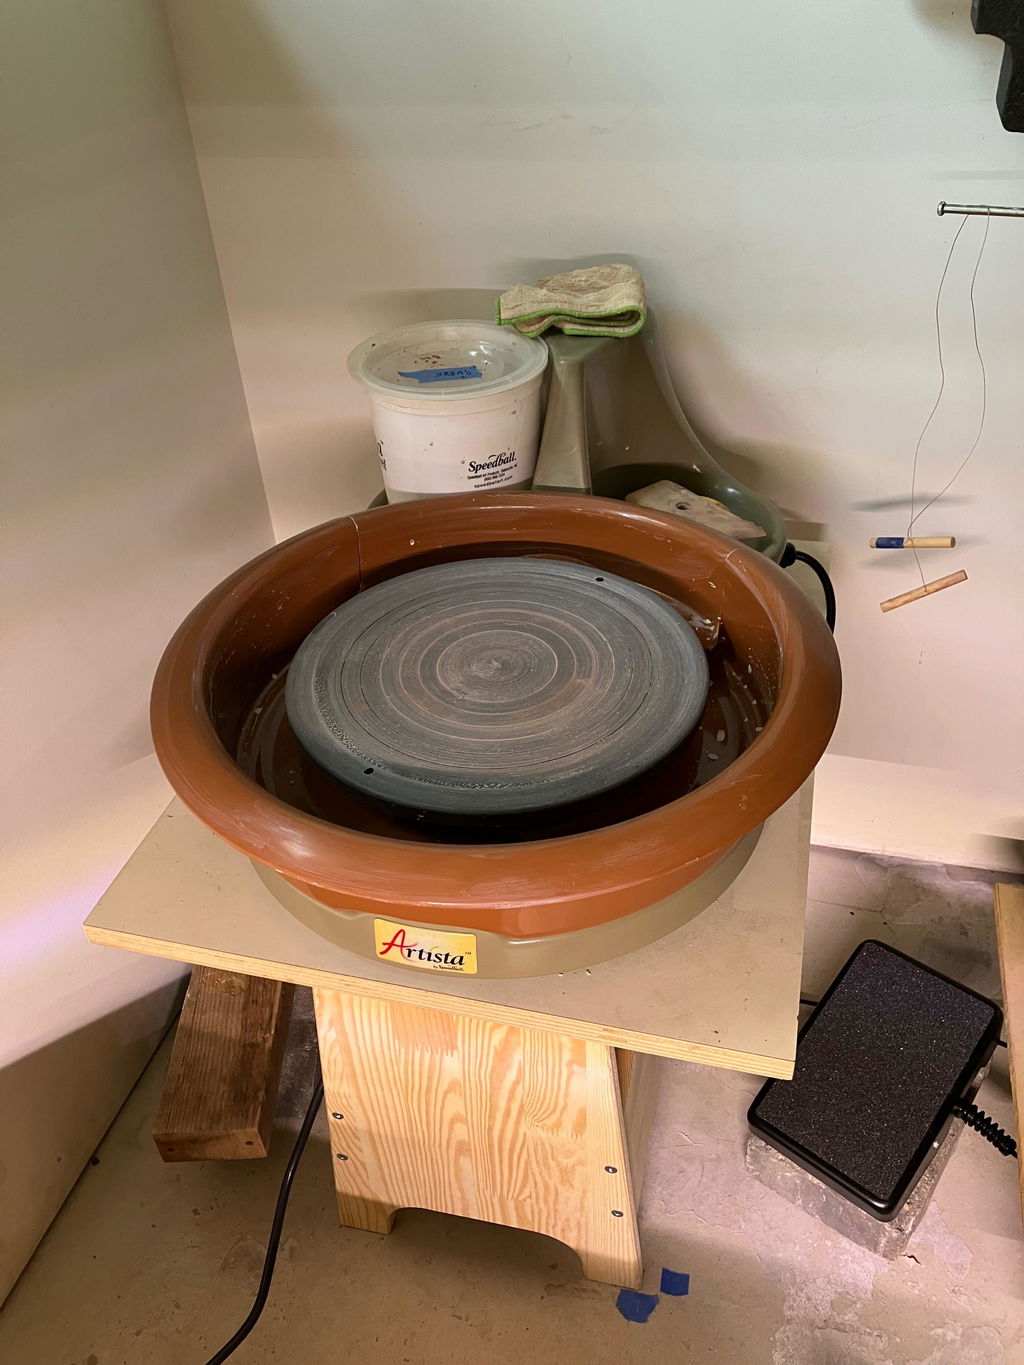
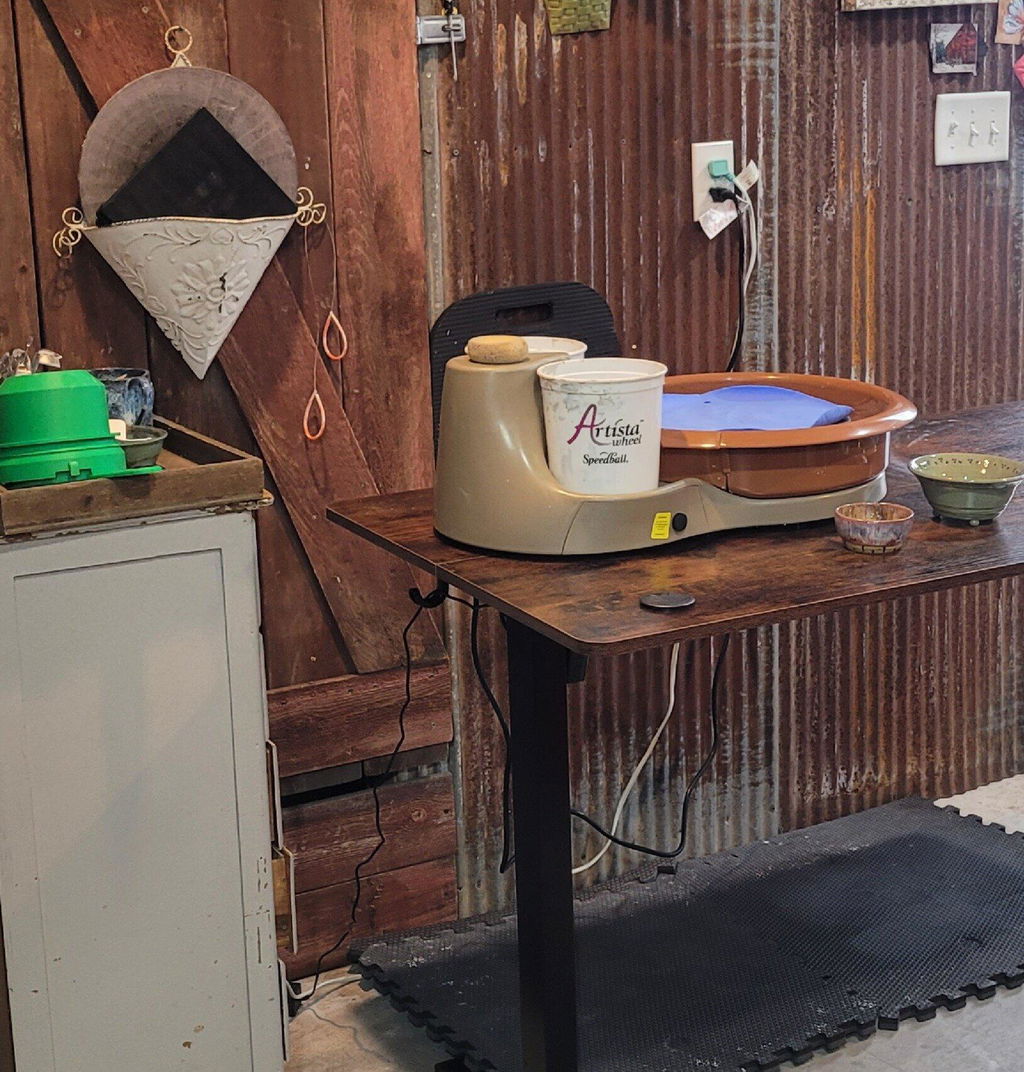
I was using a generic wheel, took a class and knew that I needed to upgrade. I also knew that a tabletop wheel would be the best for me. I settled on the Speedball Artista tabletop wheel, and I love it. I purchased a computer table that will let me adjust the height that I feel comfortable at. This wheel is smooth, quiet and has great speed. I throw small to med. pieces. I use the hand control for speed, foot pedal can be purchased separately. Great upgrade for me, and it is portable! Great customer service with Soul Ceramics! Happy customer!!
I've been using my new Studio Pro 17 for 2 weeks and have to say I absolutely love it. There is a learning curve, but help is available when I need it.
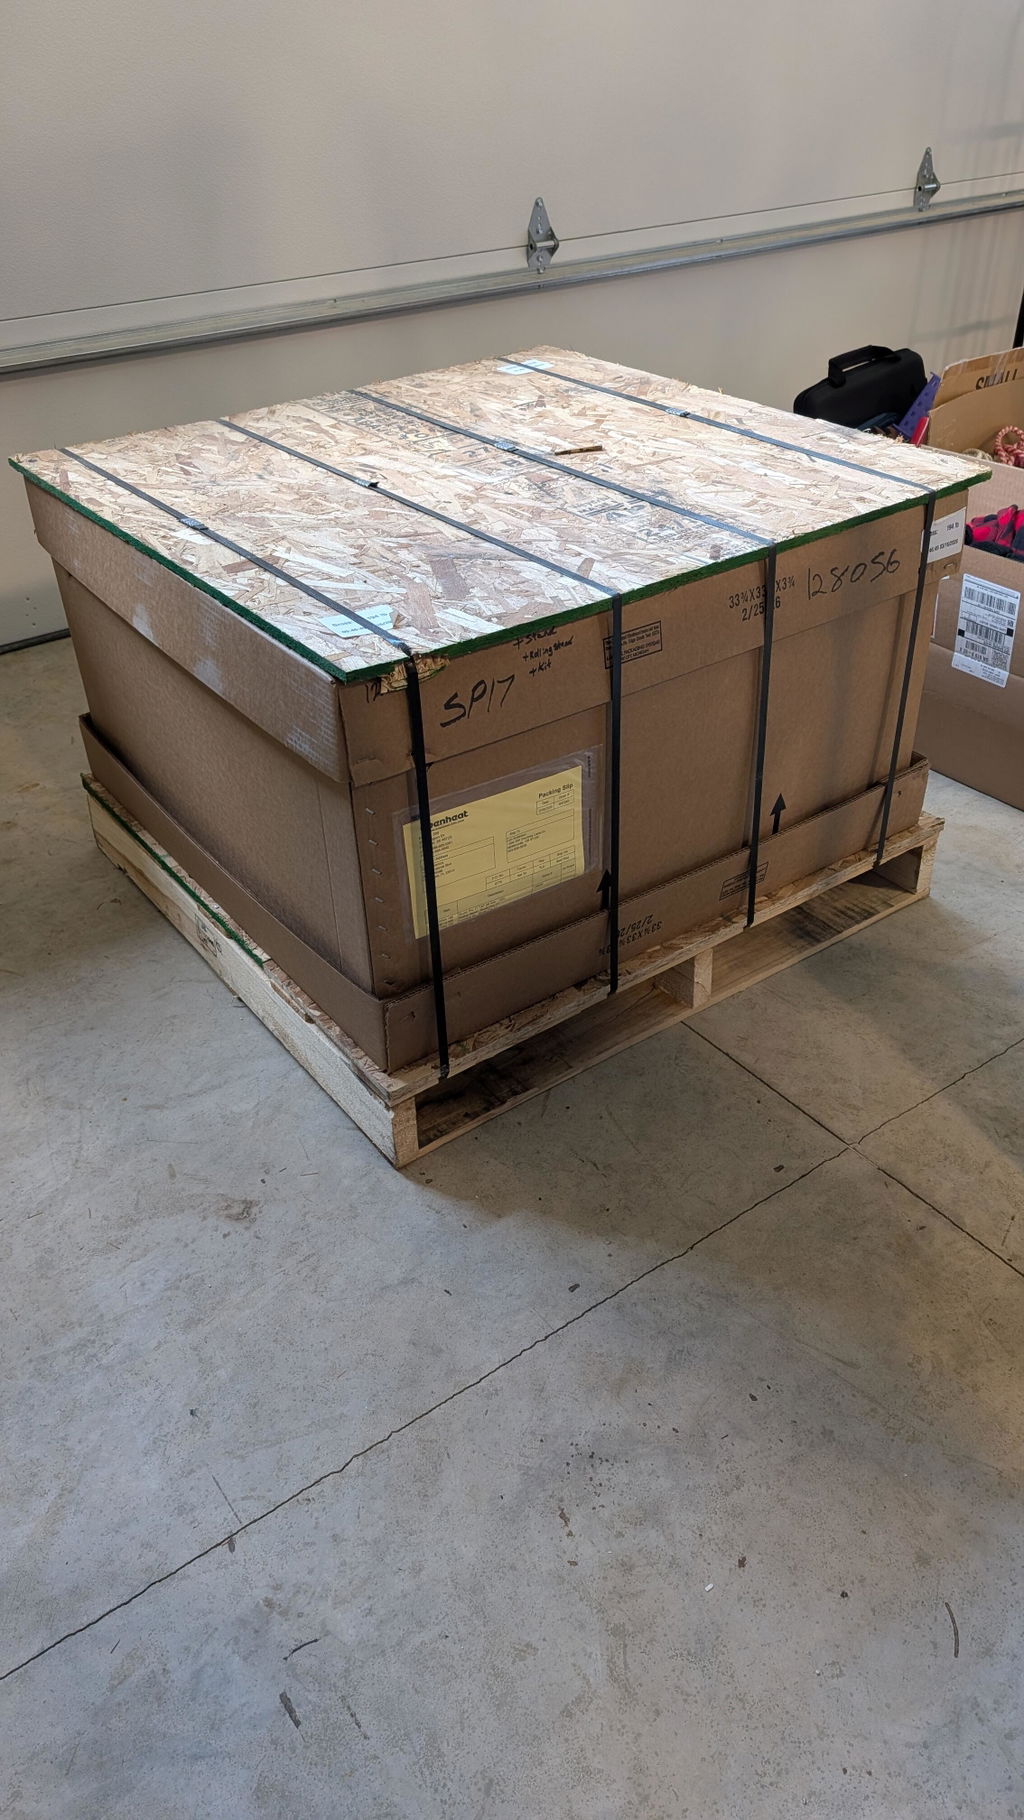
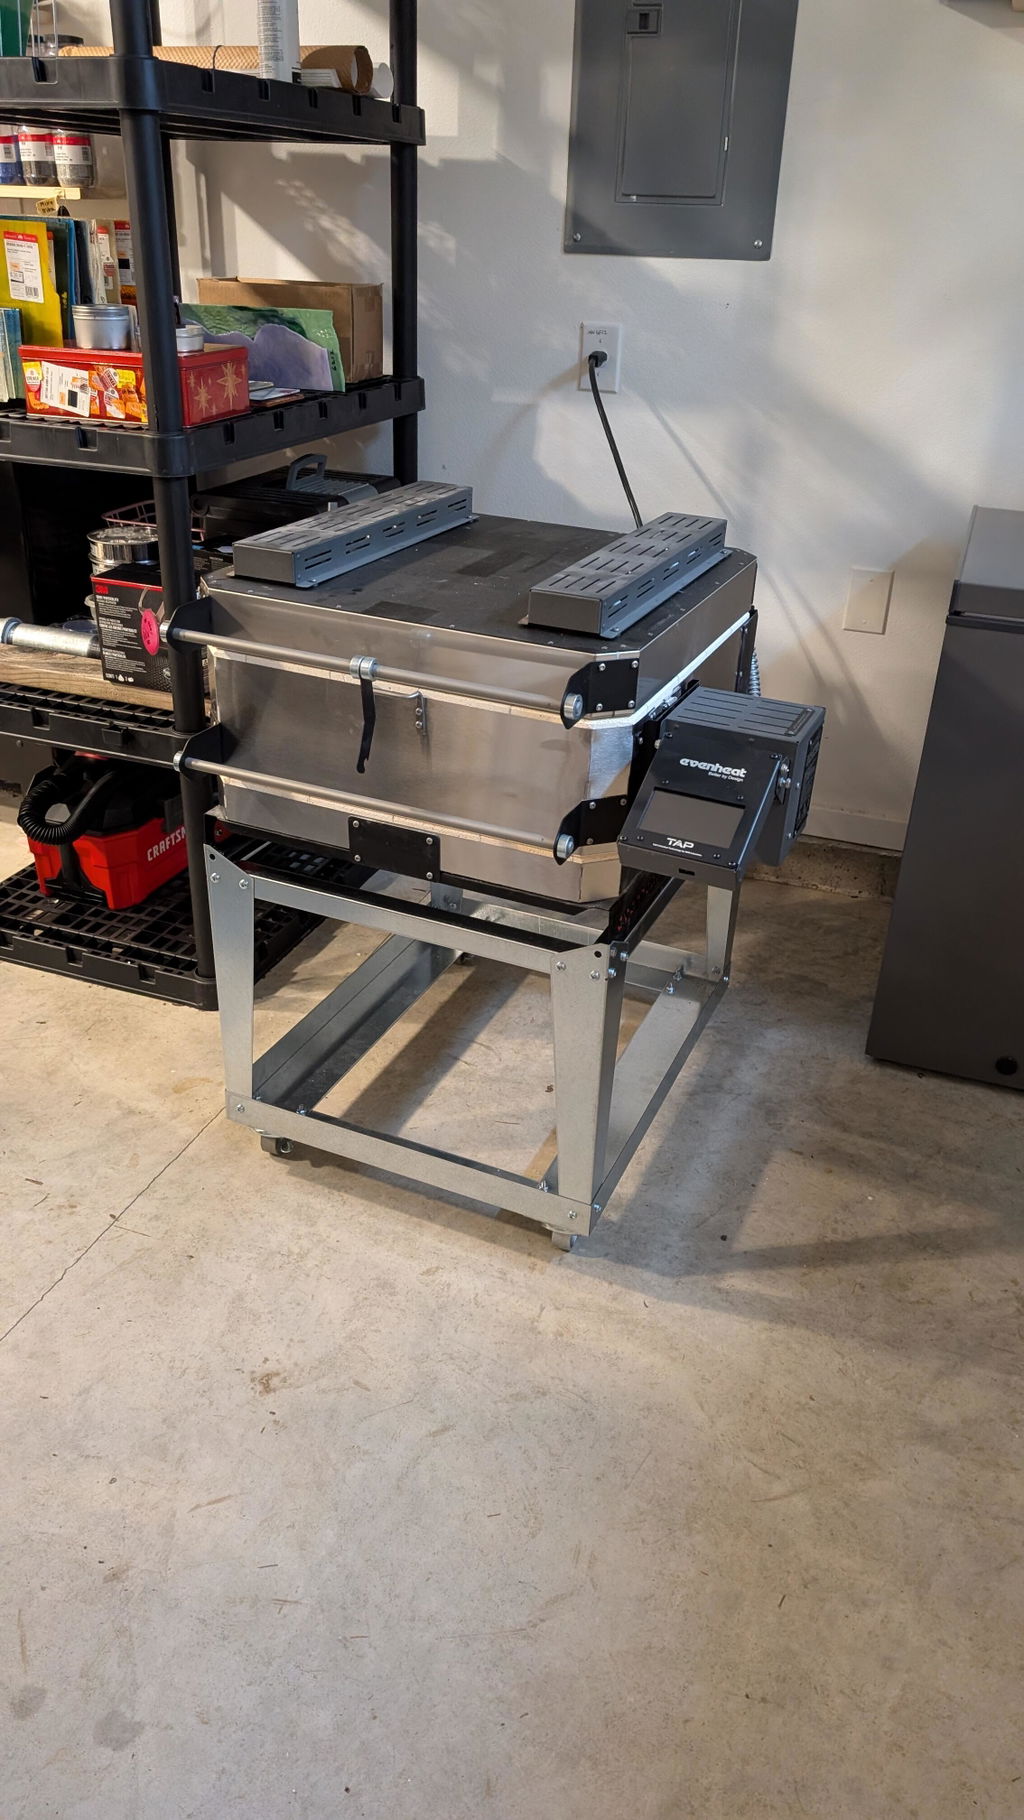


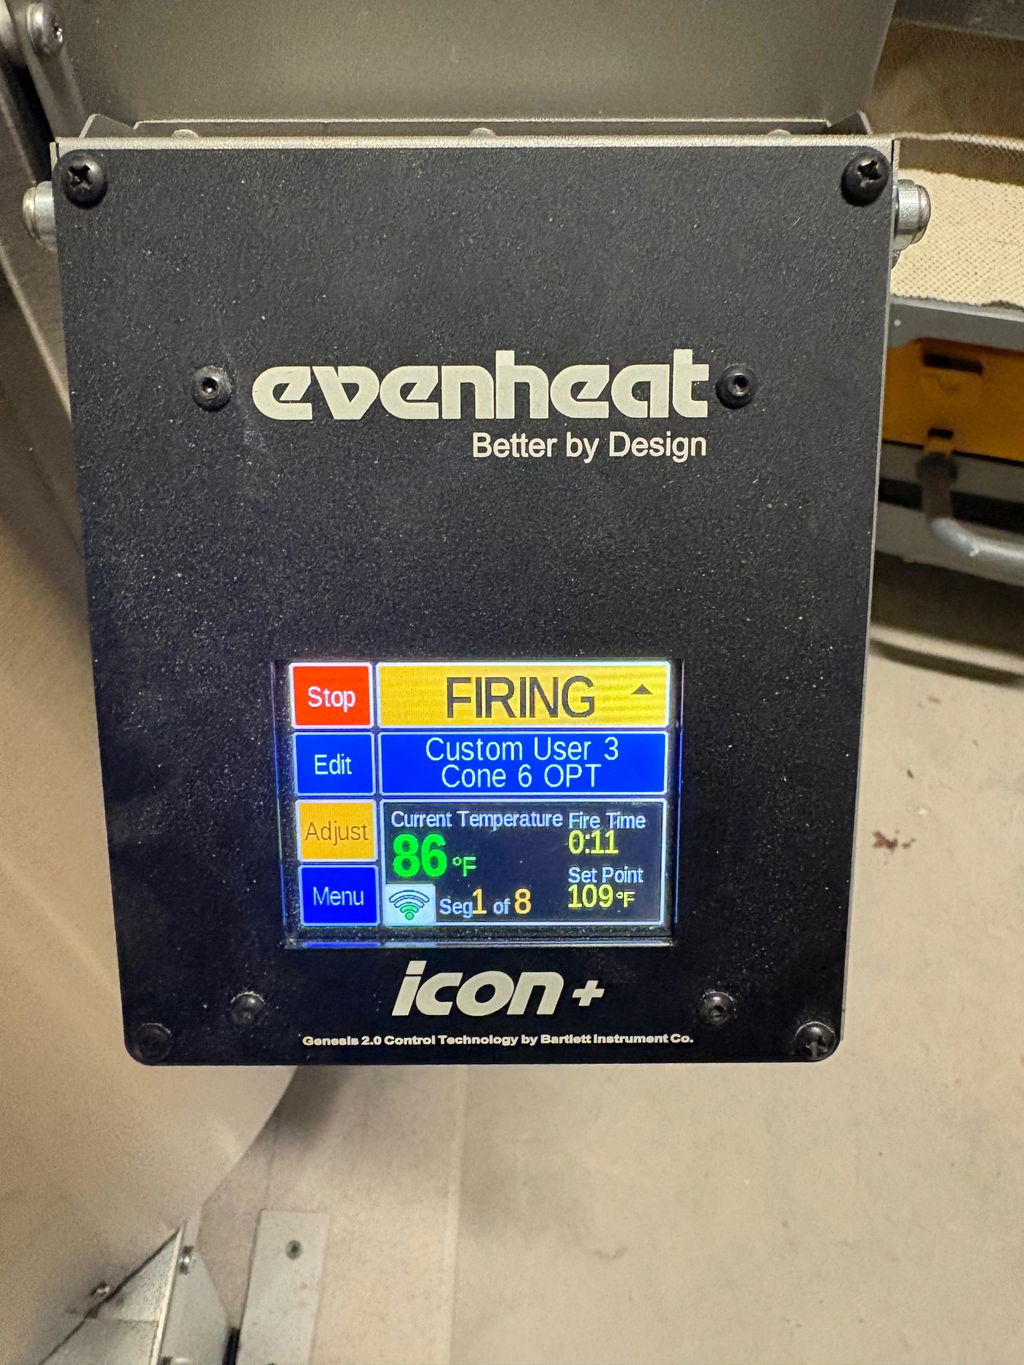
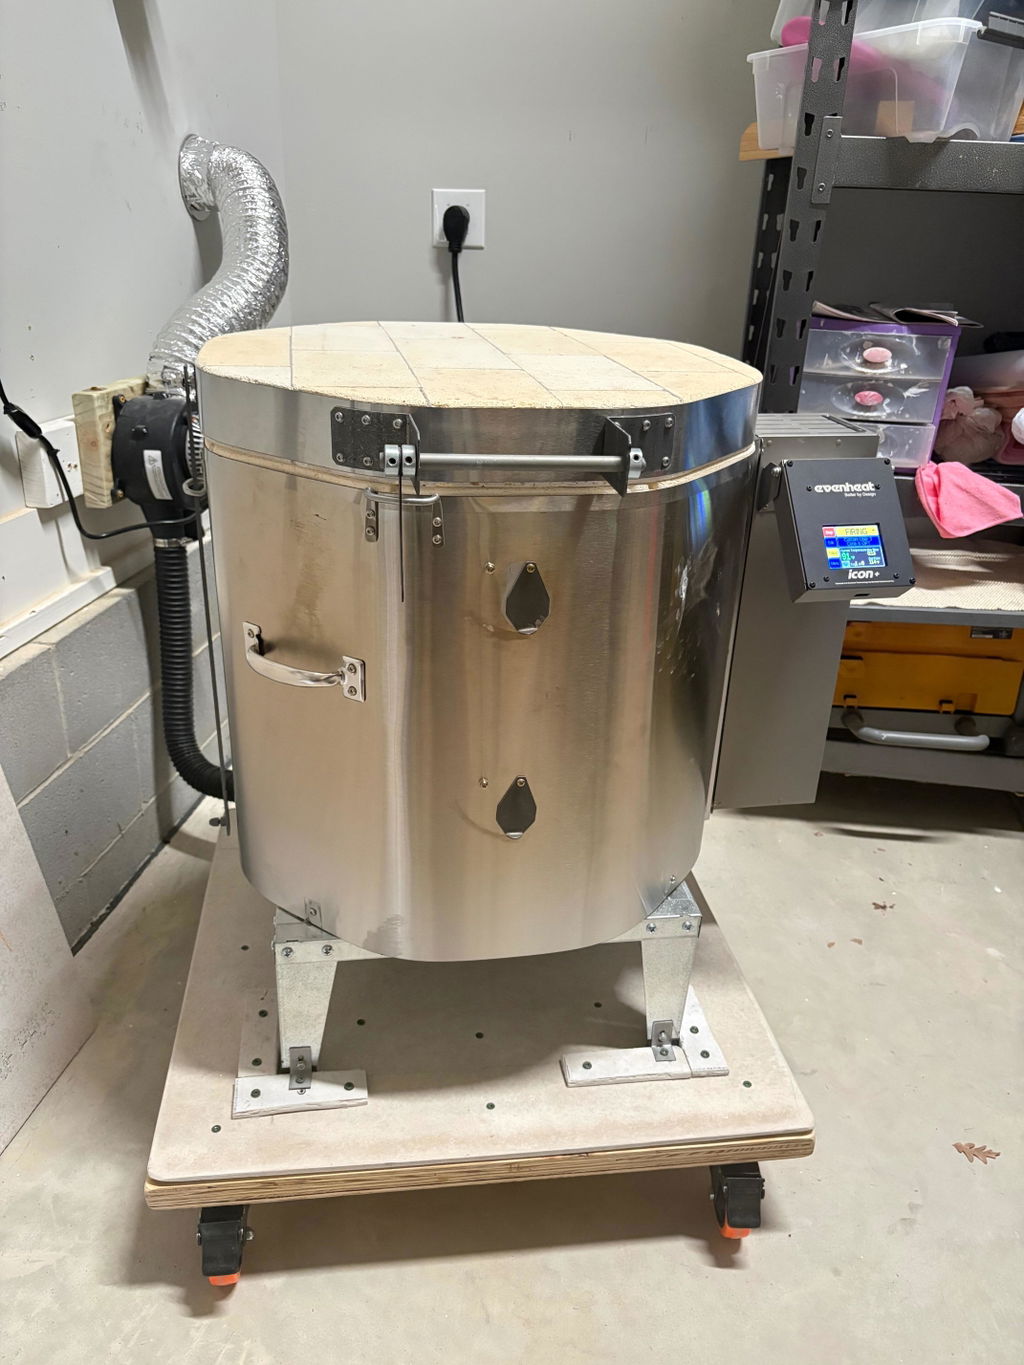
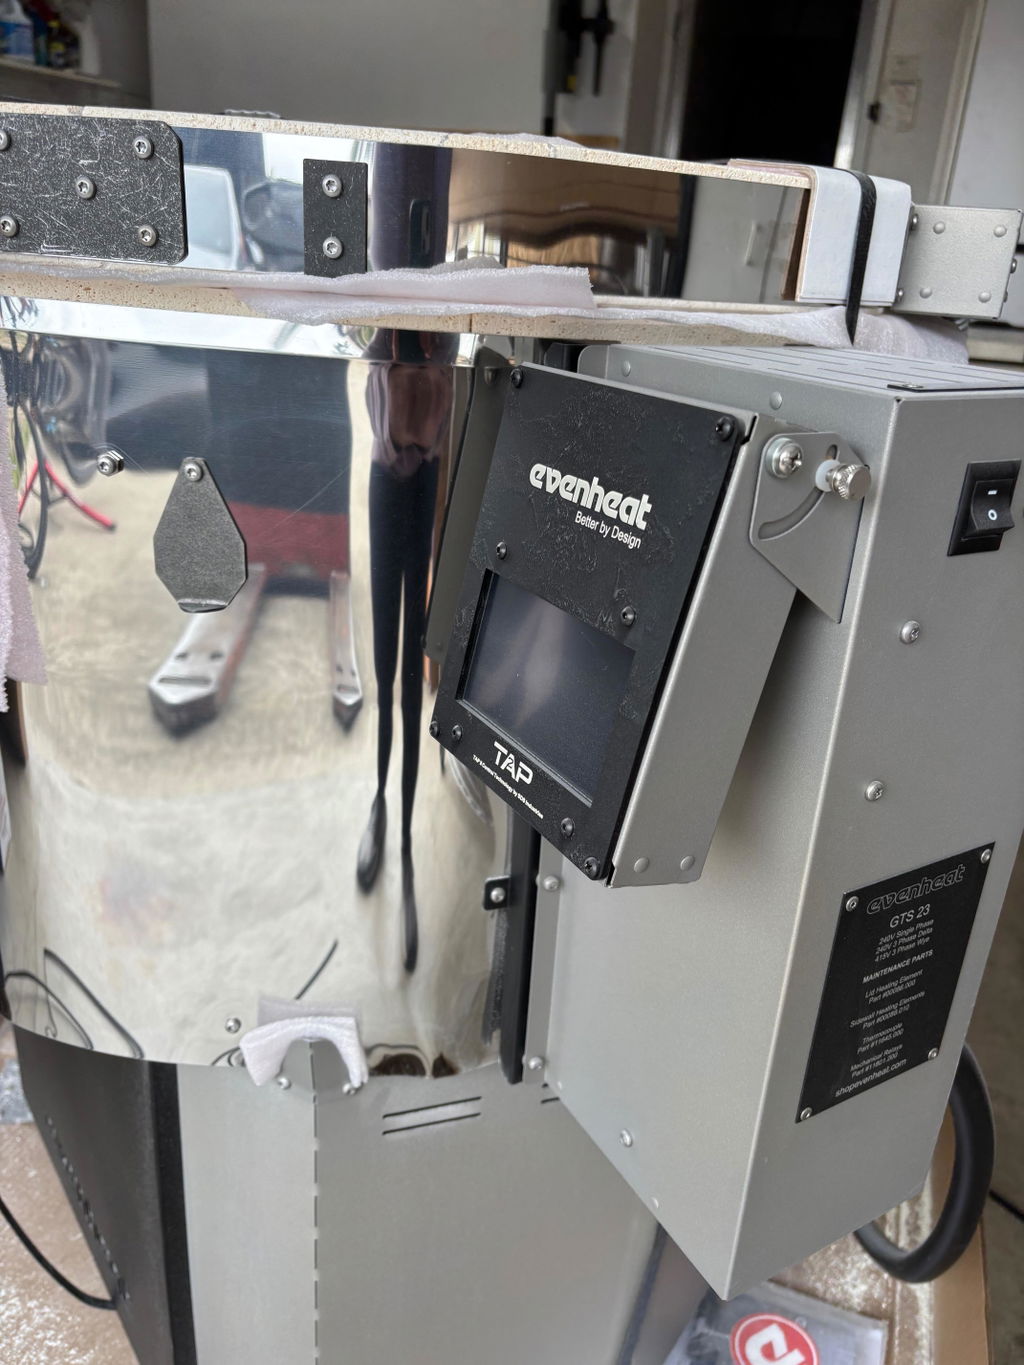
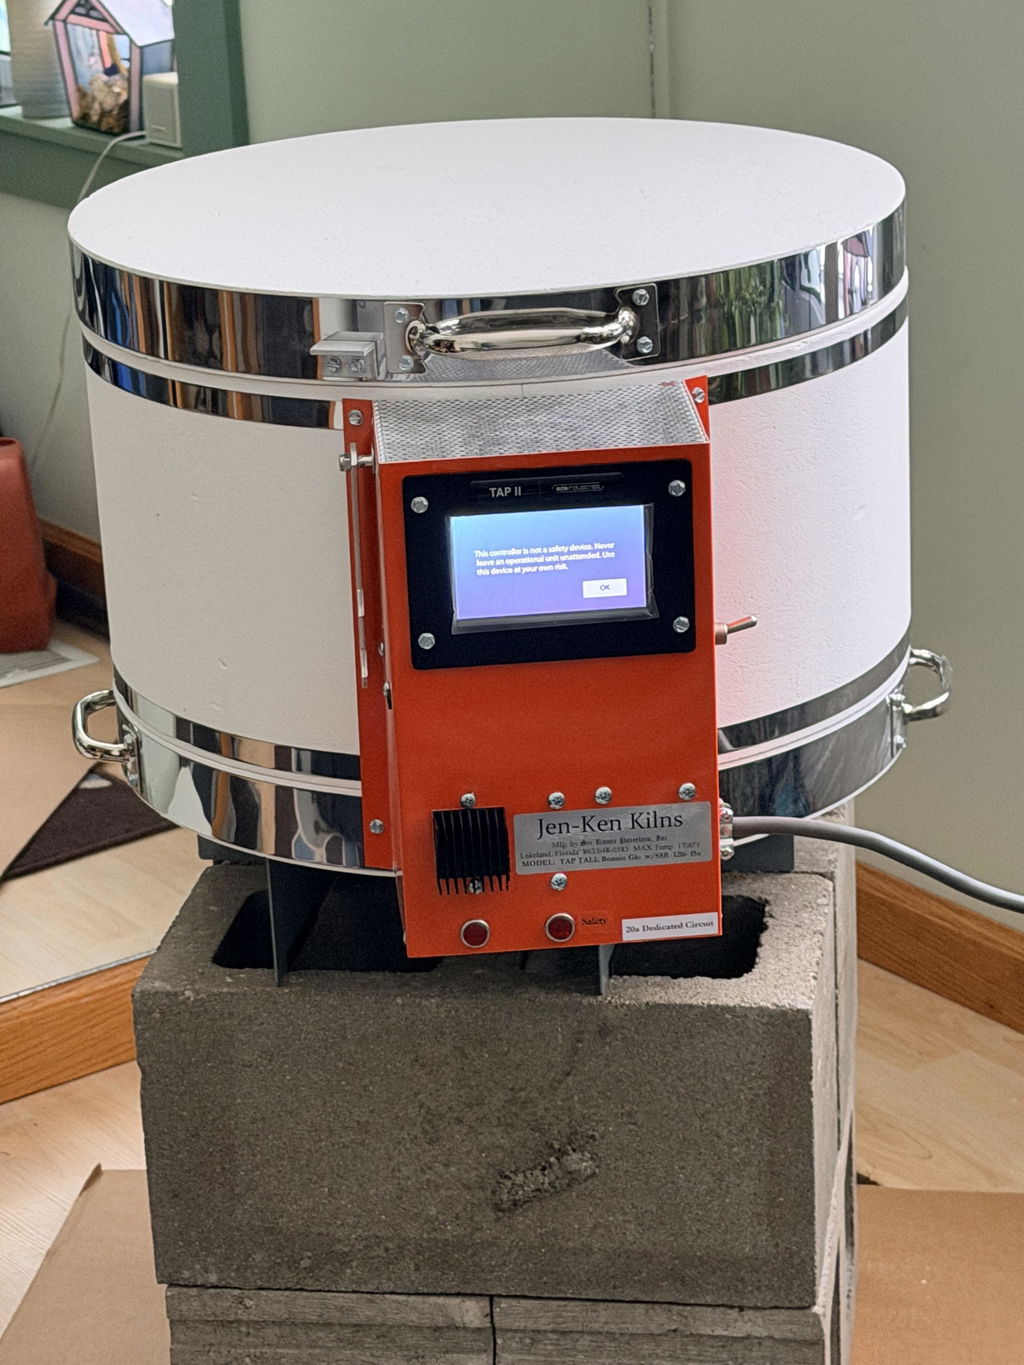
I purchased the Evenheat HF 1818 kiln from Soul Ceramics. The product came via freight and it was packaged and shipped very well. The unboxing was easy, with minimal installation required. In addition, I purchased the furniture kit, and the downdraft vent. I also upgraded the controller to the Genesis 2 Icon+, with solid state relays, which I’m very happy I did.
I’ve done a series of bisque and glaze firings, and I’m very happy with the results. The kiln has 3 inch fire bricks and is very well insulated, and as easy to program. I highly recommend this kiln.
I also recommend Soul Ceramics as a retailer. They were very helpful in my selection of the kiln, and made some good recommendations. Their prices were the best I could find, and their feedback and communication was great during the ordering and waiting process.
Ordered and received within about 4 weeks. They sent an update email just about every week. Very prompt response. I would definitely buy from soul ceramics again.
Received 3 days ago and so far it’s great

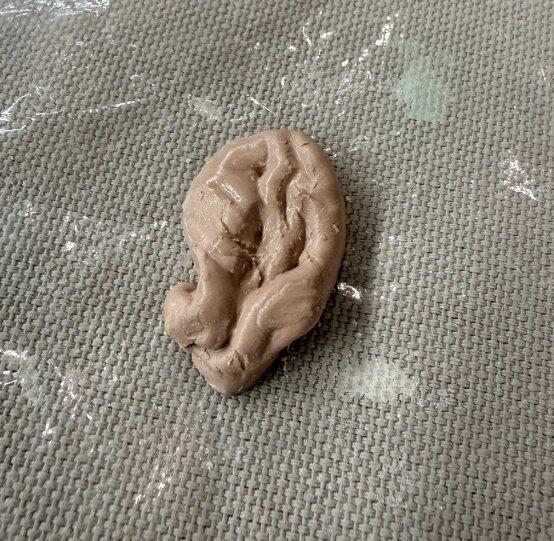
I know that Ritual was bought out so this is going the way of the dinosaurs. I was so glad to get a jar before it fully disappeared. I got the pink and have been sculpting realistic chewed bubblegum wads to add to my tea cups, haha!
It’s everything I hoped for and Soul Ceramics were great. Always kept me informed and answered my questions promptly.
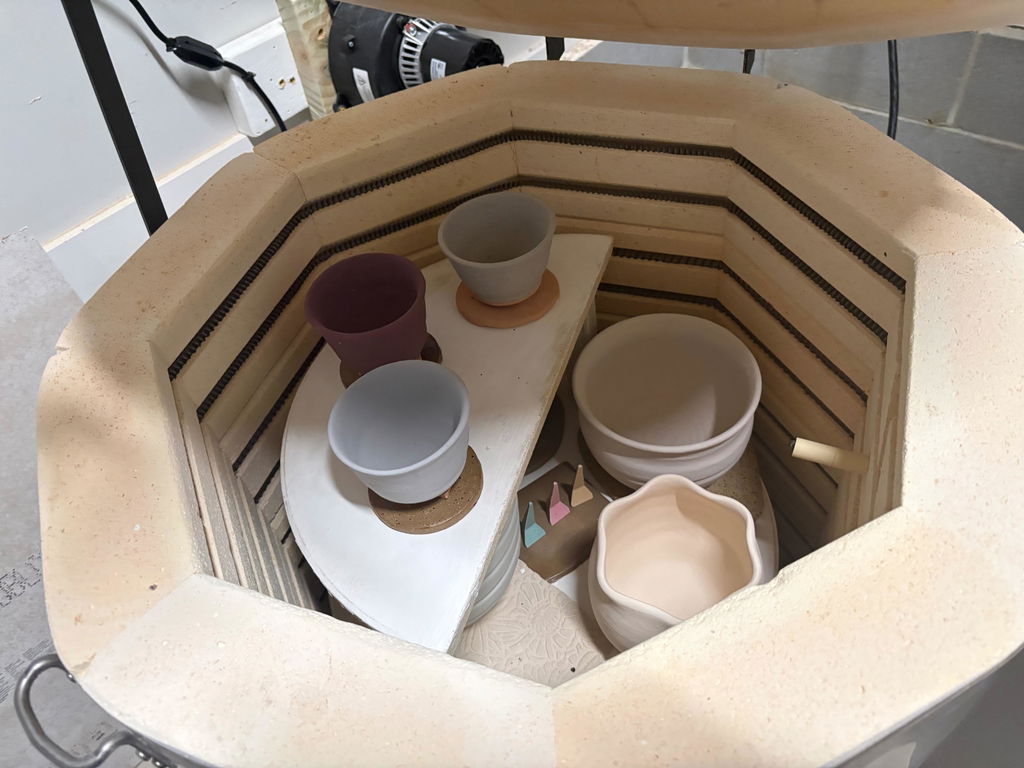
I received my kiln five days ago and have already fired it four times. I've been playing around with some of the, easily modified, firing parameters while firing test pieces. Turns out the default STD program works the best for my needs.
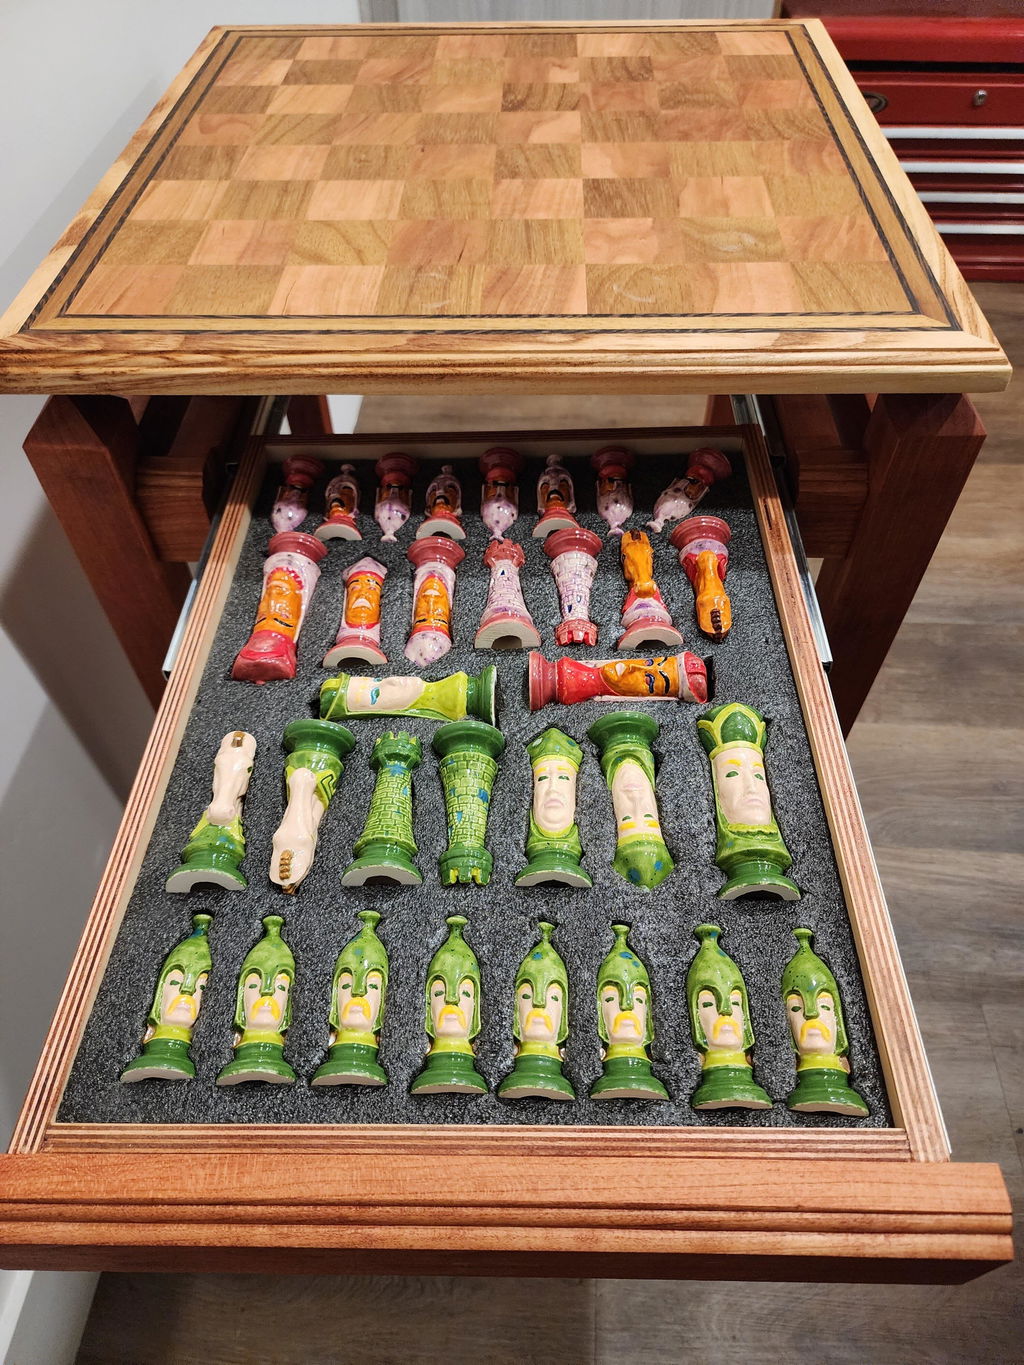
All I need the kiln for is to fire a large assortment of bisque chess sets. I've got 80 different Mayco glazes to experiment with and now I can do that at my leisure! The kiln makes testing glaze combinations simple and accurate. Being able to re-fire pieces, at will, is nice for obtaining the quality I'm aiming for too.
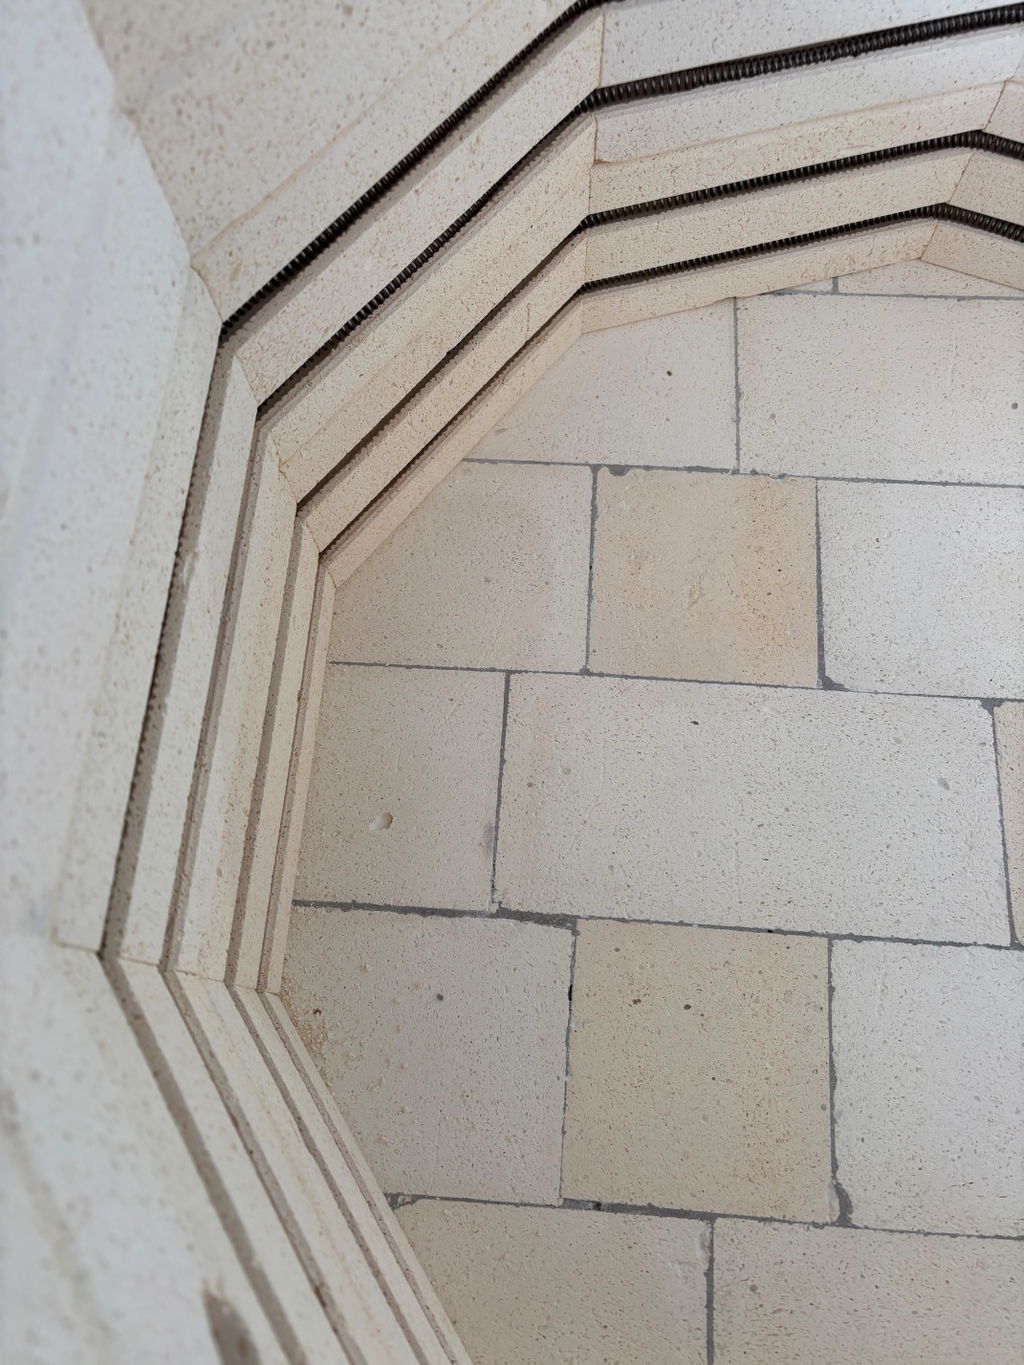
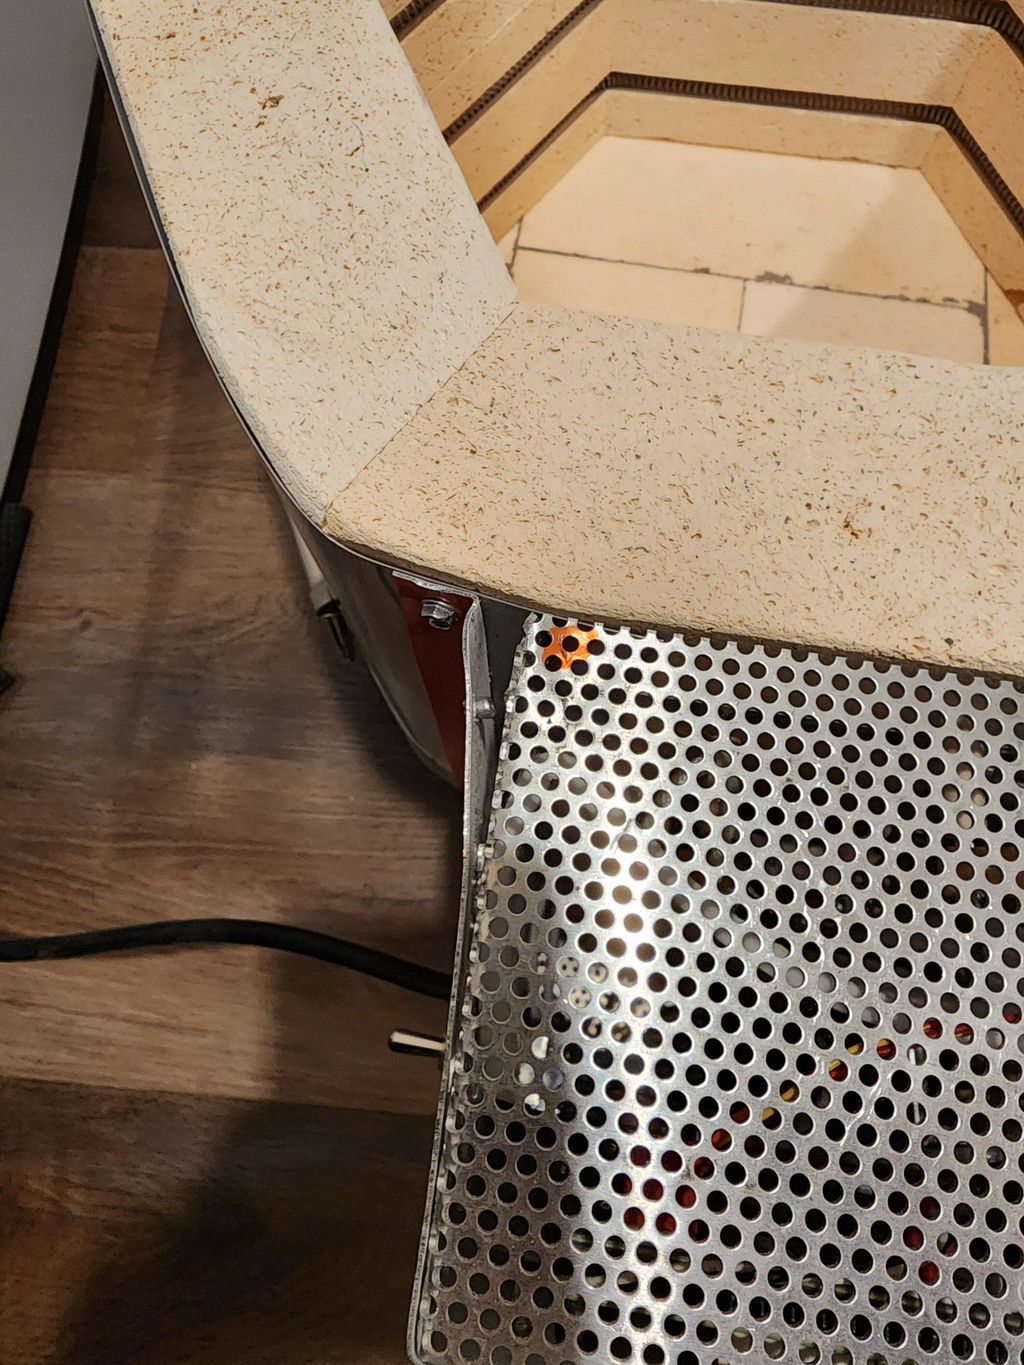
There was one small, minor imperfection with the kiln itself. This defect is shown in the picture below. It looks to me like somebody at the factory noticed it and then said screw it, ship it anyway. As the kiln arrived two weeks earlier than I expected, I'm not going to whine about a small dent in some non critical part.
All in all, if you want a small EZ to use kiln for firing bisque pieces, then this is the kiln for you! It is easily moved when not in use. It fits into a corner, with ample space on all sides, during firing. The apartment has a dedicated 20A line for the washing machine so that's the plug I use. The only thing is I can't use my washer and kiln at the same time. OK, not a big deal.
You'll start to the pieces I'm firing, along with the chess tables, on my IG account soon. Just look for EZInlays. I'll be tagging @SoulCeramics when I post fired pieces too. I promise.
Thanks guys, Happy Camper here!!!
Have an Ordinary Day...
Kurtis ~|:-)
I am always happy to give my business a small family run business. Soup Ceramics was wonderful to work with. Highly recommend!